<body><script type="text/javascript"> function setAttributeOnload(object, attribute, val) { if(window.addEventListener) { window.addEventListener('load', function(){ object[attribute] = val; }, false); } else { window.attachEvent('onload', function(){ object[attribute] = val; }); } } </script> <div id="navbar-iframe-container"></div> <script type="text/javascript" src="https://apis.google.com/js/platform.js"></script> <script type="text/javascript"> gapi.load("gapi.iframes:gapi.iframes.style.bubble", function() { if (gapi.iframes && gapi.iframes.getContext) { gapi.iframes.getContext().openChild({ url: 'https://www.blogger.com/navbar/18649191?origin\x3dhttp://lostpurl.blogspot.com', where: document.getElementById("navbar-iframe-container"), id: "navbar-iframe" }); } }); </script>

lostpurl

Lost in a sea of yarn and needles. Lusting after handmade socks and all things lacy


Tincy needles

I got a few questions at The Mason-Dixon KAL about where to get the 000 needles. This is where I got mine. Spinblessings
I believe I found the link at grumperina
It is a set of three different sized sock needles. 000,00,0,1 Each size is a different color and 5 needles to a size. Good thing because I have seriously curved the two I am using. They are quite inexpensive. Have fun :-)

By Suzann
On Friday, September 29, 2006
At 9/29/2006 10:13:00 AM
Comments :


Mason Dixon Ornament

I used sock yarn, but any tightly twisted fingering weight yarn will work. Size 000 needles.
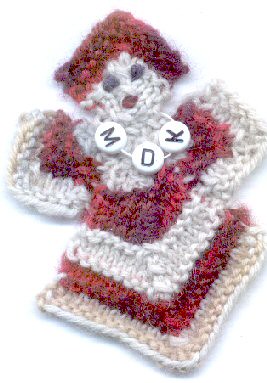
Mitered squares, what can you say. The pattern in the book was just to large, even with the tiny needles. I used the free pattern at Elann For the body I doubled the size of the square from 13 stitches to 27. Remember you always need an odd number of stitches. Mark down which row you change colors on. Someone didn't do this, and had to examine the tiny thing several times in hopes of having the match.
The arms/wings are done on the original 13 stitch pattern. The head is done the same except the color is only on the first 4 rows. The rest of the square is in a neutral color. Of course you can make them any color you like.
Sew in the ends, then sew together with the end from the last stitch. I added the letter beads. They would look nicer with a fancy thread. But I consider it a major victory that I got the needle threaded at all :-)
If you make four of the large squares, but two of them slightly shorter, you get a sort of Maltese cross. just saying,

By Suzann
On Thursday, September 28, 2006
At 9/28/2006 11:44:00 AM
Comments :


Ball Band Babes Earrings

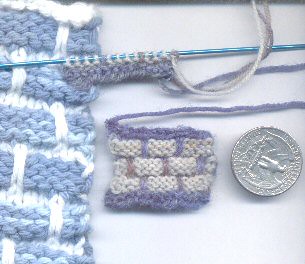
Using sock yarn or another tightly twisted fingering weight yarn, size 000 needles
Earring findings.

Pattern repeat is 6 + 5, rather then the book pattern which is 6 +3. I like the extra stitch at the beginning. So rather then knit 1 slip 1, I have knit 2, slip 1. I find it keeps the slip stitch from rolling around to the back as you carry the yarn up.
I carry the yarn ends behind the work so there is no sewing in at the end. And with something this small you don't want to try sewing in anything :-)

Cast on 17 stitches.
Knit 1 row
Purl 1 row
Join second thread
Knit 2, slip 1, Knit 5, slip 1 end with slip 1, knit 2
Proceed just as when you are knitting a full sized ball band washcloths

Knit 5, slip 1, etc end with knit 5

Do three sets of slip stitches.
End with beginning color
Knit 1 row
Purl 1 row
Bind off
The directions may seem a bit skimpy, but the pattern is copyrighted and if you don't have the book, go buy it. I am only giving the changes I made.
Next I have will probably be mitered earrings or maybe log cabin. ;-)I think I need a longer neck.
Close up of earring without the fat head


By Suzann
On Tuesday, September 26, 2006
At 9/26/2006 11:57:00 AM
Comments :


Ball Band Babes Unite

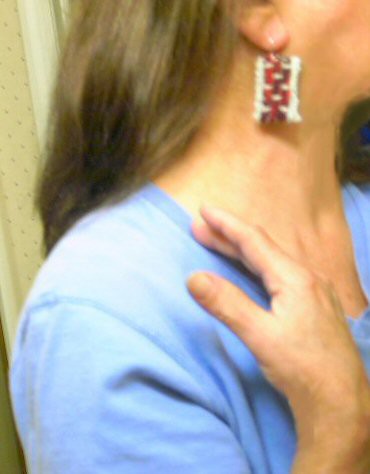
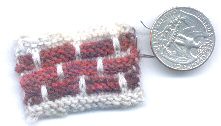
There have been a lot of snickers out in the Knitosphere about people who are addicted to knitting Ball Band washcloths. Pfft! I say. We are babes. We could cable if we wanted to, we could lace if the mood moved us. The snickering has driven some BBB to go underground. Now we can recognize each other. Ball Band earrings. You know you want to do it :-)
Size 0000 needles using sock yarn. I made two for each earring and fused them together. That way they look nice from each side. I need to make a run to Wally World to get the earring findings. Except my family has taken my car keys away from me. They feel I need intervention. I will escape, I will knit. I will be a BBB (ball band babe)
Band on sistas

By Suzann
On Friday, September 22, 2006
At 9/22/2006 08:50:00 AM
Comments :


How To Take Pictures of Socks

I joined the Soctoberfest. See the mighty sidebar and was looking through the pictures on the Flickr site. It comes to me that most of us do not have someone to take nifty pics of our feet. I can sometimes wrangle my daughter into playing photographer, but not always.
Most pictures show the picture the way it was taken. The camera pointing down at the feet. The resulting perspective makes even the slimmest of legs go short and stocky. It not only doesn't flatter you, but it doesn't really show off your socks to advantage.
All you need is some simple graphics software to fix the problem.
This is a picture I took of a pair of socks I was working on. I propped my feet up on a chair, pointed my toes and snapped away. Sadly I forgot to move the yarn, patterns etc out of the picture. But you can see how I edited the picture.
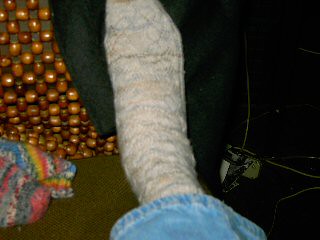

In the Graphics software (I use Paint Shop Pro) I flipped the image to this
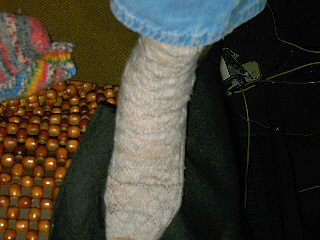


Better but still a lot of background clutter. I then checked the background color and filled in around the sock. I also cropped the picture a bit


This is much better, my leg and foot have lost the elephant look and the sock is the focal point. It would be except for the jeans. Which is the reason these pictures never saw the light of day :-)

But what happens if you are knitting a lace pattern. Lace off the leg tends to crumple up on itself and look awful.
This is the Embossed Leaves sock from Interweave Press Knits. It is a very popular pattern, and sadly most people photograph it off the leg, so it just piles up on itself.
For these photos I went from the camera to the scanner. You can get much closer and more detailed pictures with a scanner.
The first one shows a work in progress. I inserted a glass into the sock and threw a white towel over the scanner to cut out the ambient light. The scanner lid was up in the air, naturally.
The second picture shows the completed sock. I stuffed it with a white hand towel and propped up the scanner lid so it wouldn't squash the sock. The reason for all this trouble was to show the lovely toe pattern that finishes off the sock to perfection.
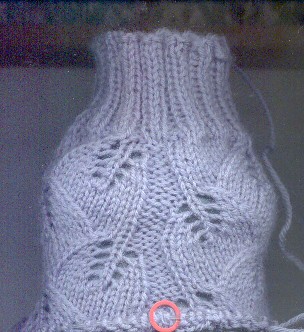


If you knitting a complex pattern in dark yarn, you will want the best light possible to photograph it. And it still maybe too dark. In a case like that, you are probably better off scanning a small portion of the sock to show the pattern. Even the most basic graphics programs will allow you to fiddle with the contrast. Sometimes bright sunlight will just show a dark blob. Which is not what we want our knitting to look like. Stretching it over something before taking the picture can help. Beware of over head lights. Most yarns have some sheen, and strong overhead lights can cause a glare bounce back effect.
If someone is modeling your socks, get them to point their toes. It gives the leg and foot a much more graceful look, and shows off your sock to best effect. Your model will thank you too ;)
If you are trying to show a heel effect, try having your model put their foot up on a chair or stool. This means you don't have to crawl around on the floor to take a picture.
Hope this helps someone to show off their socks to best advantage
By Suzann
On Wednesday, September 20, 2006
At 9/20/2006 08:30:00 AM
Comments :


Baby Gone Red

This is the back and front in the correct yarn. The blue was just for gauge swatches. It is a deep blue red, unlike the pictures.
All fine and dandy but I think I am going to have to frog the front. The neck opening is going to be too small. Especially since I want to add a hood. I am leaning toward frogging the whole thing and doing it in one piece up to the arms. Lazy, I am very lazy :)
Yarn is Dark Horse Fantasy using size 6 needles for the cables and 5 for the ribbing. It is supposed to be worsted weight, but I find it is a soft maybe light worsted that or I am a very loose knitter. I couldn't use the recommend size 8. It looked like lace


By Suzann
On Saturday, September 16, 2006
At 9/16/2006 03:03:00 PM
Comments :


Cables Baby

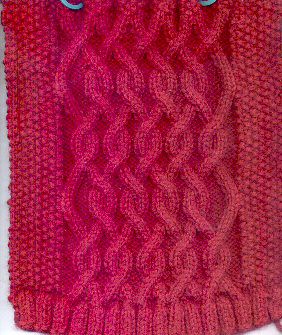
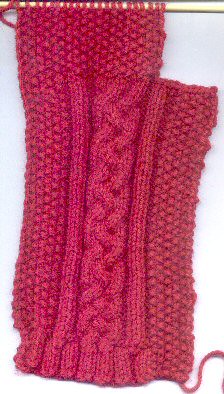
The next sweater will be a cable job. I decided to wing it. Using the same Dark Horse yarn, this sweater will be a deep red. The swatch samples are left over blue from the Baby Surprise jacket.
I wanted the sweater to fit up to 6 months size, and I hope this will be big enough. You have to allow for it going over his inner clothes. I planned on 22 inches around the chest.
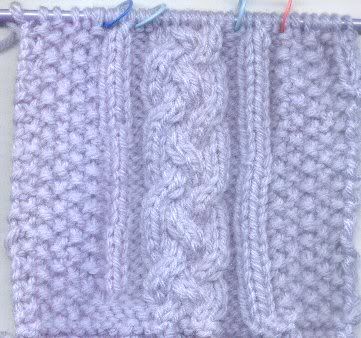
The swatch for the front of the sweater, it is a cardi. I mean why not make it hard for your self Suzann :D

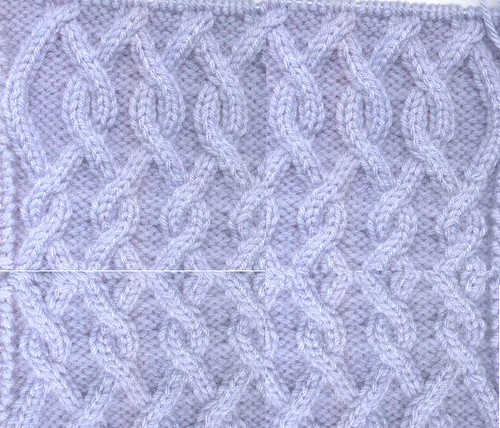
The back is a bit of photo shop magic. I wanted to see how this pattern would look as an all over pattern. I liked it a lot and cast on for the back.

I have to take a picture of the finished back in all its red glory :) I would like to put a hood on this one, maybe a cable around the edge of the hood. I would also like to finish it before the kid goes off to school :-)

By Suzann
On Friday, September 15, 2006
At 9/15/2006 10:23:00 AM
Comments :


Baby Baby Baby

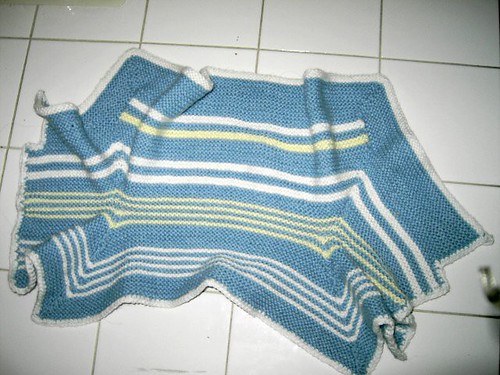
A friend had a baby and I wanted to knit something fun for him. Elizabeth Zimmermen's Baby surprise Jacket. I had the pattern, had the yarn. But I just could not get my brain around the directions. I feel bad, I am one of those sheep EZ talks about. I need massive amounts of hand holding. Then the knitting godess smiled on me and I found this A wonderful group that is dedicated to knitting EZ patterns. And these wonderful knitters had had a KAL of this same pattern, with a day by day workshop. I printed it out and was on my way. I still couldn't see how this

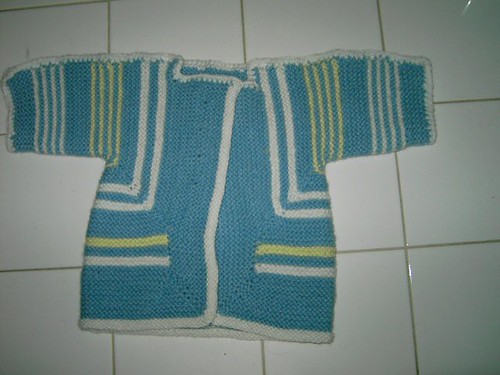
was going to turn into this


But of course it did. I even traced and cut out the diagram in the book, and tried playing with it to see how the magic happened. Dumb cluck :D
The yarn is Dark Horse Fantasy yarn. Super soft acrylic and nylon blend. Machine washable and dryable. Important for the new mum.
The babies parents met online so the buttons are yellow smilie faces. They aren't on in this picture. Mainly cause I haven't sewn them on yet :D